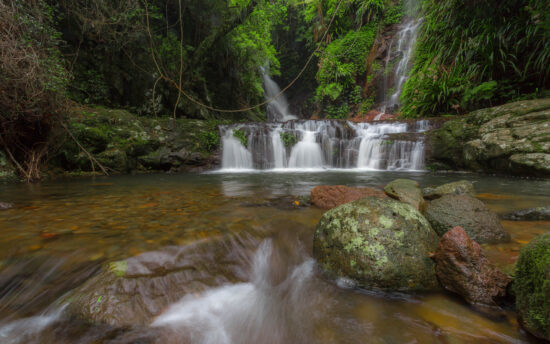
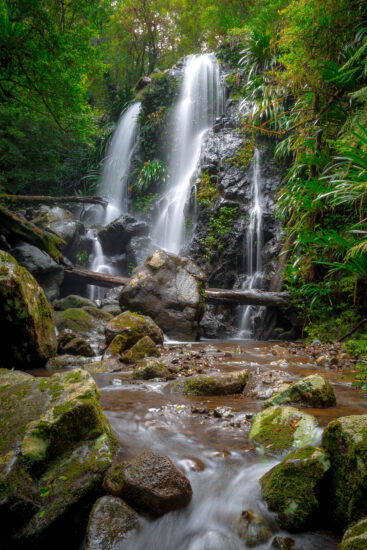
One of the things that drew me to landscape photography was seeing those travel brochure images of waterfalls with that smooth, silky flowing water and thinking “how did they do that” ?
If you have found this page, you are no doubt thinking the same thing. By the end of this tutorial, you will be well on your way to creating your own stunning waterfall images. Let’s start by looking at the equipment needed and why it’s used.
TRIPOD
If you are keen to give waterfall photography a go, there’s no getting around this one unless you can hold a camera in your hands perfectly still for a few seconds. A stable tripod is a must-have to hold your camera still for the duration of your photo. Unfortunately, this does mean you’ll need to be prepared to carry this cumbersome piece of gear on often long hikes.
REMOTE
Like the tripod, this is another piece of equipment used to prevent camera shake, more-so the type that happens as you press the shutter button.
If you don’t have one, don’t despair, this can also be overcome by setting your camera to function on 2 second self timer. This will also eliminate the shake caused by pressing the shutter button.
FILTERS
Circular Polariser Filter (CPL):
Whilst creating a great waterfall image can 100% be achieved without a Circular Polariser Filter (or CPL for short), these filters are used to take out the glare from surfaces such as wet rocks and leaves. They also aid in bringing out a nicer depth of colour and can darken the image a stop or two to allow for a longer exposure if necessary.
Neutral Density Filter (ND):
A neutral density filters’ purpose is to reduce the amount of light that hits the sensor of the camera, in a nutshell, sunglasses for your camera is the best explanation. One of these would more commonly be used if you were shooting on a sunny day. I prefer not to use one and aim to shoot waterfalls in overcast conditions where the whole scene is evenly lit and not having to compete with the sun.
LET’S SHOOT
Ok, so you’ve found a waterfall and you want to return home with some ace images?
Take some time to take in the scene. Waterfalls really are a great place just to sit and clear the head so don’t rush.
Use this time to compose your shot and find the best angle(s) and vantage point.
Settings:
Let’s take your camera off ‘automatic’ mode and change it to ‘manual’ (normally noted by the letter M on the camera’s mode dial).
If your lens has ‘Image Stabilisation’, turn this off. As your camera is mounted to a tripod, it takes away the need for this function and it may introduce shake.
We’ll start by dialing in a small aperture (F-Stop), I like to use F16 as it’s a happy medium between controlling the light intake, and keeping things in focus. Most lenses max out at F22 but I find that this starts to pick up dust marks etc.
Secondly, we’ll change the shutter speed. This is the function that gives you the nice flowing look to the water. Feel free to experiment with this as it can depend on the volume of water you are shooting as to how pronounced the effect is. I generally like to start at 0.5 seconds. This is generally enough to create the desired effect with the water but not so long that the surrounding trees look blurry if it’s a windy day.
Finally, set the ISO to the lowest available option on the camera. This is usually a setting of 100, although some cameras can go as low as 50. ISO is how sensitive the sensor of the camera is to light. In terms of what we are trying to achieve with our waterfall image, ISO can be explained as a function that will either lighten or darken your photograph.
Now that we have all these parameters dialed in, using your remote, or setting your camera to the two second self timer, take a test shot. If the resulting image appears dark, either increase the ISO by an increment or two or gradually increase your shutter speed.
A COUPLE OF OTHER HANDY TIPS
*Pack a couple of soft microfibre cloths in your camera bag. These come in handy to wipe your lens free of water drops and spray.
*Don’t rush the shot. If the sun is too bright but there’s some clouds around, wait it out until a cloud blocks the sun. This will help to prevent an unevenly lit image and over-exposing sections of the water.
*When starting out, it can be handy to keep your camera’s owner’s manual in your camera bag. This can help you locate functions on your camera if you are still familiarising yourself with it.


